HOW TO – Installing Airline Rails correctly

Video
Installing airline rails correctly
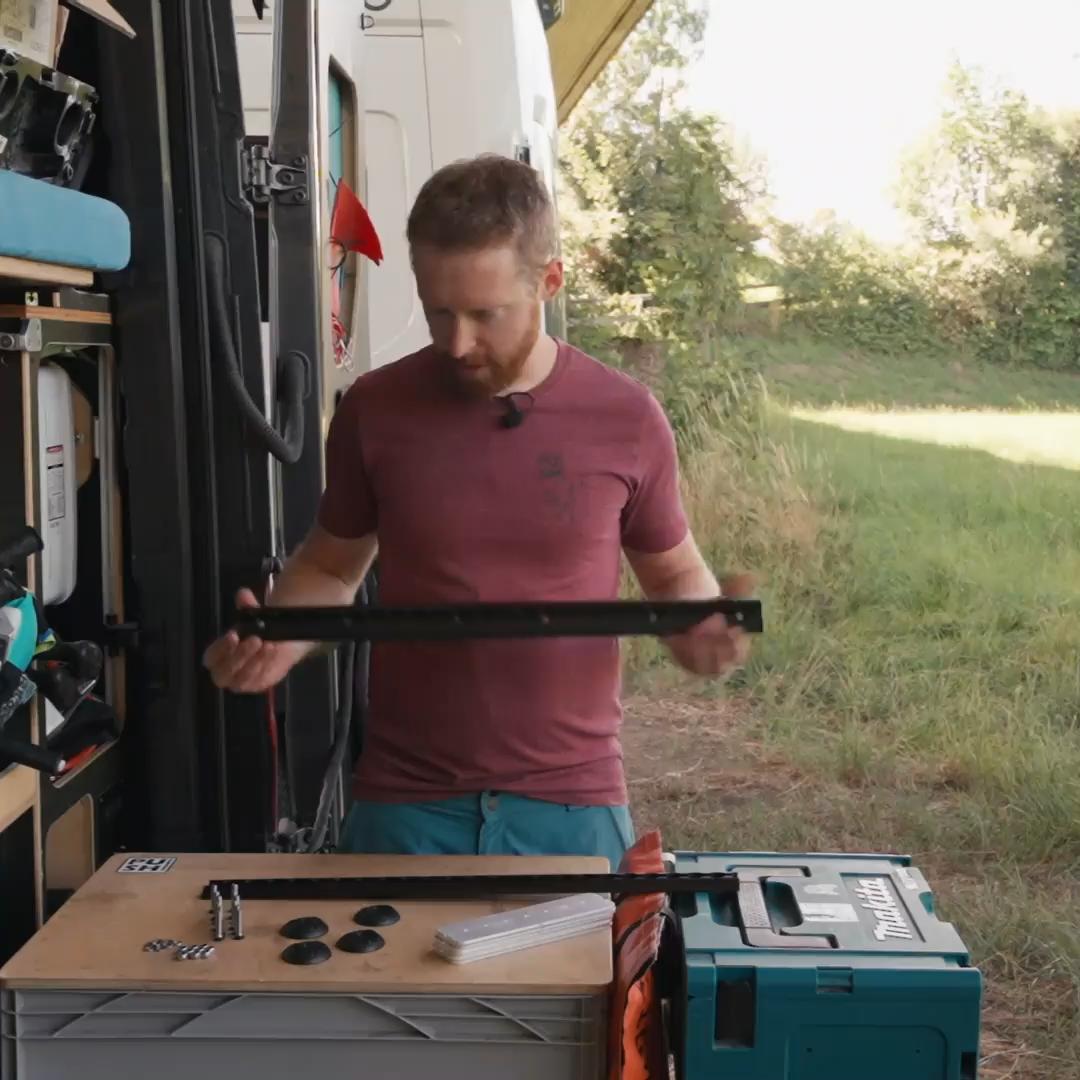
In this video, our chief developer Lenz shows you how to install airline rails correctly. He gives valuable tips on what you should pay attention to when fitting the rails and what mistakes to avoid:
Recommendation
Matching products
Here you can find the products from this article:

Hello,
please note that a primer (Sika 210) is required between the Sikaflex 554 adhesive and the anodized airline rail. The adhesive will certainly hold without primer, but the adhesion between adhesive and rail is much better with primer.
For pre-treatment on the vehicle, I recommend activator and cleaner 205.
Everything can be found in the Sika pre-treatment table.
Hello Thilo,
that is absolutely correct and absolutely necessary when mounting without screws (e.g. on sandwich walls). However, since the 6-fold screw connection bears the entire load when installing our airline rail set on box wagons, the adhesive only has a sealing effect here. Even without bonding, the screws would carry the load loosely. We have chosen this method so that no expert know-how is required for bonding.
Yours sincerely
Lenz from the PUSH components team
Hello,
I received a shorter and a longer set of rails for my Crafter. Which one is for the top and bottom and why are they different lengths?
Kind regards, Stefan
Hello Stefan,
if you look at the doors of the Crafter from the rear, you will notice that they are significantly narrower at the top than at the bottom. Overall, the vehicle is 20 cm narrower at the top. For this reason, the rails must also be narrower at the top.
Yours sincerely
Lenz from the PUSH components team
Hi,can the airline rails also be fitted to a VW Crafter 2 generation with flat roof (H1) with standard windows? The area above the window seems very narrow to me. I would be pleased to receive brief feedback.
Hi Stefan,
Unfortunately, that is very difficult. The small strip above the window is already the door frame. This means you can’t attach our reinforcement panel from the inside.
There are two tricks that customers of ours have used. Please send me an e-mail to [email protected] and I will send you the detailed instructions with pictures.
Kind regards
Lenz from the PUSH components team
Hi Lenz,
I came across your Pushrack while looking for a bike rack. I really like the solution. I’m just not sure whether I want to remove and refit the carbon support on our gravel bikes every time we transport them. There are always scratches, or the height no longer fits exactly, etc.
Do you have any plans for this in the near future?
Greetings Christian
Hello Christian,
currently that is correct, unless you have very short legs and therefore a very low saddle, you will have to retract or remove the seat post for transportation. Our starting point was simply the mountain bike because we are mountain bikers ourselves. The good news is that we are already developing a solution for road bikes and gravel bikes and we hope to be able to present a solution for the 2025 season.
Yours sincerely
Lenz from the PUSHcomponents team
Hi, we have had your system for half a year now and are extremely satisfied.
But now we want to switch from normal bikes to e bikes … the maximum load was 25 kg per bike or ?
So 50 kilos per door with 2 bikes?
Thank you, we have to pay attention to the weight when buying so that the bikes don’t lie on the road ☺️
Hi Marco,
Yes, 25kg is the maximum for a holder and 50kg for a door. There is still some safety on it, but over 25kg it becomes really difficult to get the bike up there. You should really stay below that.
Kind regards
Lenz from the PUSH components team
Yes ok that’s a statement ….
No, they now weigh about 23 to 25 kilos …
Then everything fits and if you remove the batteries it’s only about 20 kilos ☺️