
BLOG & TIPS
HOW TO – Airline Rails

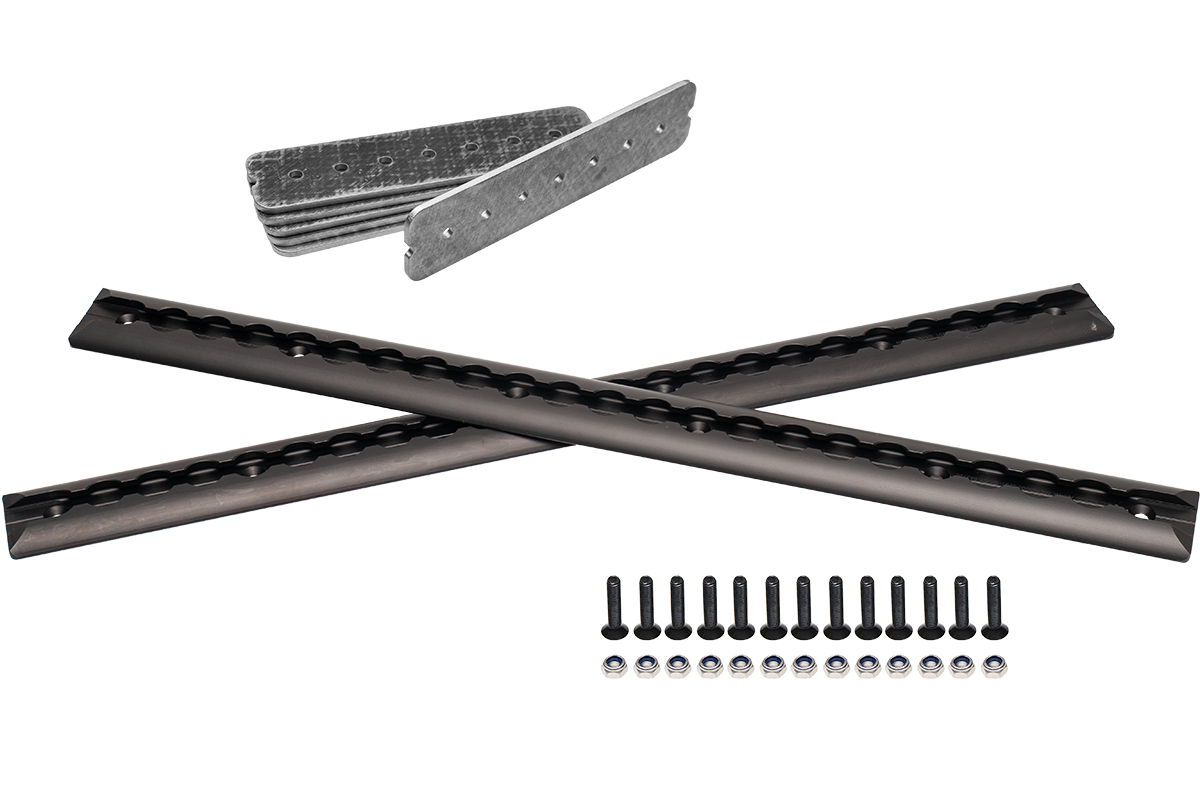
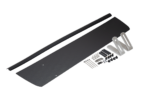
How to install the PUSHrack L-Track Set
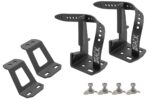
General requirements
Vehicle-specific requirements
Here you will find vehicle-specific video instructions, detailed rear dimensions and instructions to download and print out.
The vehicle-specific installation dimensions listed here are our strong recommendation!
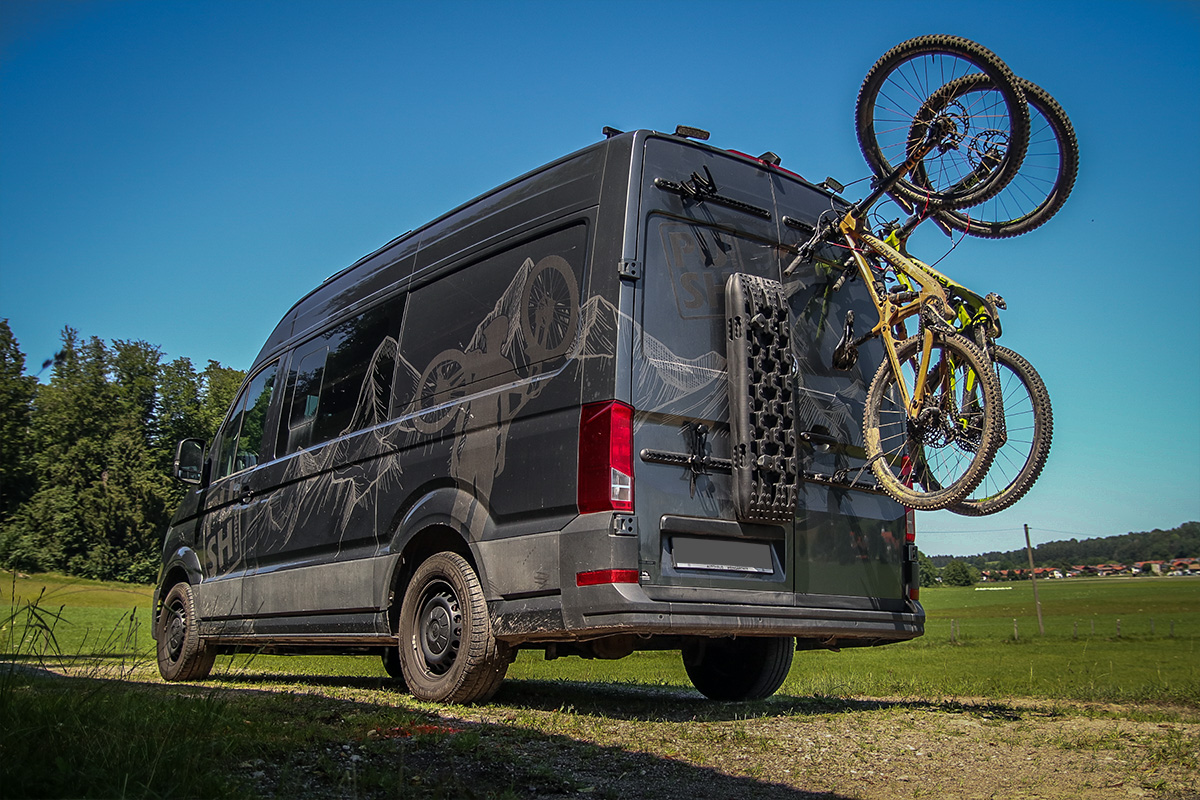
Benefits
L-Track Set
Everything about the popular transport rails
Your decision
PUSHrack L-Track Set
Find out here why you should rely on the PUSHrack L-tracks!
QUESTIONS?
Not sure which product is right for you? Just write us and we'll be happy to help!


Great, thank you very much. I’ll have a look at it this weekend when I’ve finished fitting the airline rails. I ordered two standard mounts and one DH/Flex…they arrived yesterday.
I’d like to go for the lower handlebar, as Canyon says the upper one in the middle can’t be loaded. In addition, I have already attached foil to the lower one to protect the handlebar roller bag. I would then protect this with a piece of tubing at the bottom. LG, Ralf
Another update:
As I happened to meet my buddy with the Canyon Grail (with Hooverbar) at the weekend:
On the latest version of our mounts, the rubber profiles are a bit flatter, which would cause the middle part of the handlebar to slide down to the metal on the standard mount.
There are two solutions:
1) you take the DH/Flex and grip the handlebars on the left and right of the grip tape
2) Place a piece of garden hose cut lengthwise over the middle section of the handlebars for transportation. This not only provides additional protection, but also makes it thicker and prevents it from slipping down to the metal.
Personally, I like the second solution better, as the grip tape does not suffer.
Yours sincerely
Lenz from the PUSHcomponents team
Hi Ralf, with the hoverbar you can mount the “upper” handlebar in the standard holder without any problems. You don’t have to worry about the carbon, the contact points have thick rubber edge protection. Almost all of our bikes have carbon handlebars.
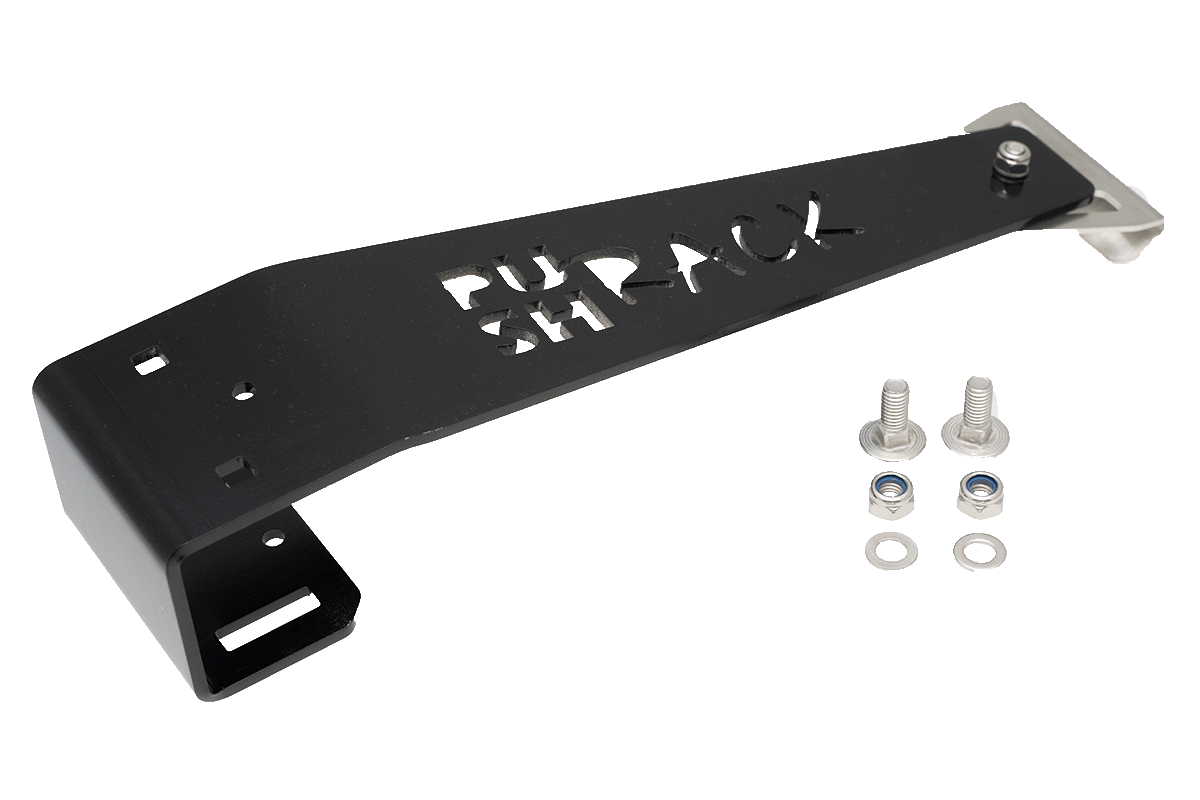
In general, you will definitely need the plus arms because of the attached windows. Then it will fit.
Kind regards
Lenz from the PUSHcomponents team
Hi, what is the situation with a gravel bike with double-decker handlebars (Hoverbar from Canyon)? Do I then need the Flex to get wider (130 mm) on the lower handlebar? How is the fixation with the full carbon handlebar possible here? There is 65 mm between the upper and lower handlebars. Is Push-Rack plus holder sufficient here (in conjunction with the front windows on our Pössl)?
Best regards from MG.
Hello Thomas, yes that works. All you need is our adapter pannier rack
My e-bikes have mudguards and pannier racks, can I use this system too?
Hello Elias,
I assume that you have not installed any windows. In that case, it’s perfectly possible, but it’s best to make sure that the distance between the top rail and the top edge of the door is between 225-325mm. If in doubt, one of our Plus arms would then fit later, these are useful if you need more distance from the vehicle or if you are not entirely satisfied with the stability of the rails on the window surface.
I know from another customer with an H1 that it was a little more difficult to get the two outermost nuts onto the screws during installation. If you would like some more pictures, please send me an e-mail.
Hello, I drive a Fiat Ducato with the size L1H1. Is it possible to simply move the upper and lower rails further down? I am aware that the bicycles will then also be further down. Theoretically this should work, right?
Hello everyone,
does the reinforcement strip have to be 4mm thick on the inside or would 3mm be sufficient?
However, I would install the 3mm sheet as a continuous sheet and not in segments!
Kind regards
Alois
Probably yes, but we have never tested it with less than 4mm. I don’t know if it’s worth the risk to try it.
Whether the sheet is continuous or divided into three segments, as we did, makes no noticeable difference to the stability, but it is often not possible to insert a continuous sheet into the door.
If you have any further questions, I will be happy to help.
Lenz from the PUSH components team